- After logging into Field Link Go to Admin>Manage Resources
- To enter your company employees who will be listed on daily time sheets, Click on Labor

This entry screen allows anyone with administrator privileges to enter or edit all the company employees which may be used on a project. The window has two parts: Resources and Classes.
- Resources: The Employee's ID, First Name, Last Name, and default class
- Classes: The type of employee they are (i.e. foreman, operator, laborer, etc.)
At initial setup, enter the classes of labor first by clicking on the Classes tab.
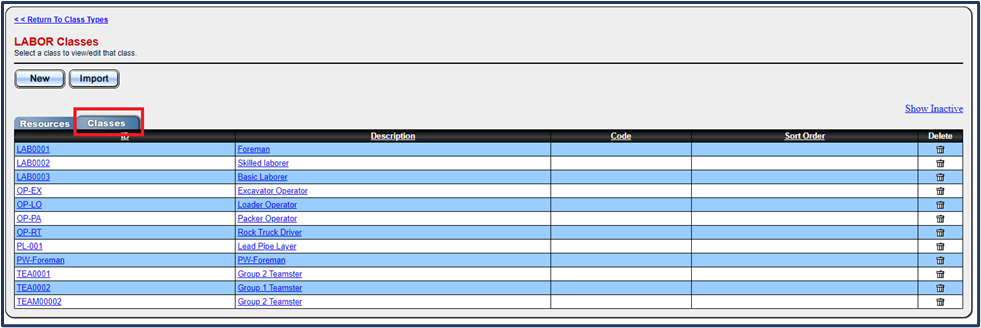
Labor Classes
Your labor classes identify the type of worker, just as the rate you used when bidding the project. Click on New to create a new class.
- ID: The Labor Class Unique Identifier. The ID can be the same as the Rate code from Estimating Link or any unique identifier of your choice.
- Description: The description of the Class (i.e. Foreman, Operator, etc.). This will be the description that is shown on the timesheet beside the employee's name.
- Code: Accounting Cost Code, if applicable.
- R: The Rate per hour for that class and should include base wage, payroll taxes, benefits and any other costs to the company.
- OT, DT, 4, 5: You can enter the Overtime Rate (OT), Double Overtime Rate (DT), and two additional customized rates if applicable.
💡TIP: You can manually add rates to your labor classes OR have the "Class Table" option set in your Rate Multiplier Method inside your System Options if you want the additional rates to be automatically calculated off your regular rate. Learn how to set this checking out this how-to article: Field Link Setup Options and navigating to the section "Rate Multipliers Method."

💡Tip: Classes can also be imported from Estimating Link automatically by allowing it in the System Options.
Once the Classes have been established, click on the Resources tab to enter employees.
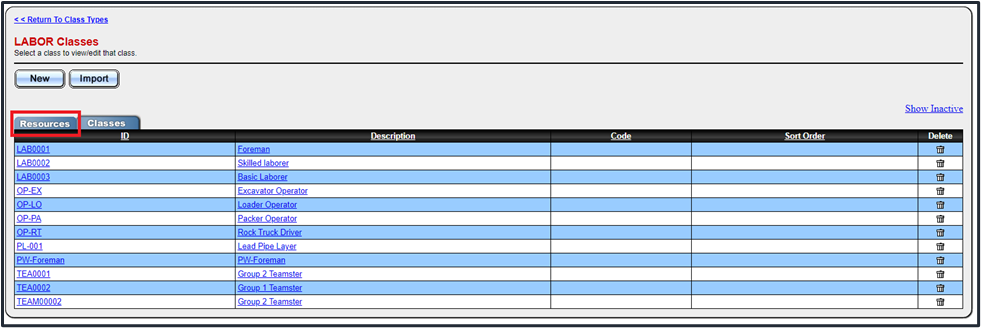
Here you can create new employees by clicking on New or edit existing employees by clicking on the existing ID link.

The ID can be the company ID used for this employee or any other reference you want to use.
The Default class is selected from the established classes previously described. If this employee is going to author daily time sheets as a foreman of a crew, check the Author Time Sheets box.
🗒️Note: the Default class for an employee is the initial classification used on the time sheet but can be changed if they working a different classification in a day. Example: Pipelayer 4 hours in the morning and Operator 4 hours in the afternoon. See Time Sheet entries.
💡Tip: You can also import employes and labor classes from a spreadsheet. for Instructions and spreadsheet import templates, check out this how-to article.