The Setup Options under Printer allow you to change the default output, customize quotes and customize proposals with your logo and the information you want displayed.
In Estimating Link, click on Setup > Options and then click the Printer tab:

This window is broken down into three sections:
- Default output
- Vendor Quotes
- Cost Reports
- Proposal Settings
Default Output
Default Output allows you to select the default that is selected when you print a report.
- Printer - Selecting this option will send your report directly to your selected printer without previewing it first. You can select your default printer under Print Preferences.
- Preview - Selecting this option will allow you to preview your report first. With the report preview open, you can select to print, export, or save to a file.
- File - Selecting this option will allow you to save your report directly to a file. The report can be saved to a customized File Location and File Type.
Default Output options can be customized by clicking the the Print Preferences button located on the bottom right of the window.
Vendor Quotes
This section of the window allows you to select the options you would like displayed on your vendor quotes (generated from the SMC & RTC).
Vendor Quote Options - If you would like your Vendor Quote to display any of the options available, place a check mark next to the option's corresponding box.
If you would like your vendors to do their own take off quantities, uncheck the SMC - Include Quantities and/or the RTC - Include Quantities box.
Proposal Settings
The right side of the Setup, Options, Printer window allows you to customize your proposal settings.
By default, the proposal's top margin and bottom margin is set to .5.
Add Company Logo
You can add your company logo to appear at the top of your proposals and you can customize your logo's size and placement.
You must have your logo saved as a .jpg to add it.
To add your logo:
- check the Print Letterhead Image box. The Letter head Image button is now active:

- Click the Letterhead Image button and the Letterhead Image Options window will be displayed.
- Click on Browse and navigate to where your logo's .jpg file is located.
- Select the file and click Open.
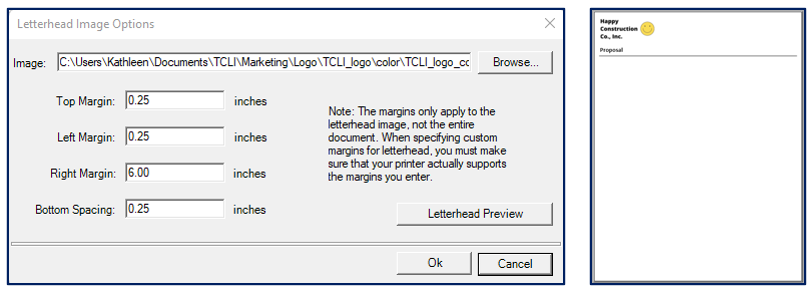
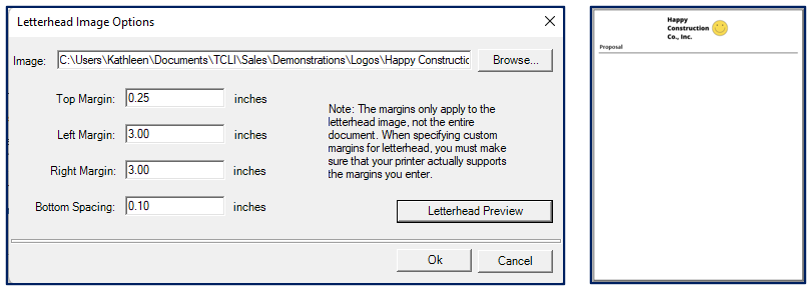
- Set the margins to left align, center, align, or right align the logo at the top of the page. 👉Click here for a cheat sheet on margin settings.
- Click on Letterhead Preview to view a preview of how your proposals will look with your logo.
🗒️Note: It may take some trial and error to get your logo setup correctly but once this is set, you won't have to change this again.
Here's some sample margins and how it prints our sample logo:
Left Aligned:
Centered Aligned:
Right Aligned:
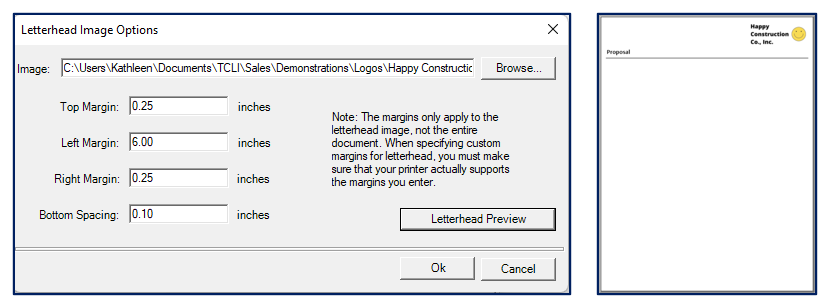
💡Tip: Margins are limited to what your printer allows. The Left and Right margins should add up to less than 7.5 (the page is 8 inches so this leaves 1/2 an inch for room).
If you would like your proposal to display any of the options available, place a check in the corresponding box.
Print Preferences
To customize your print preferences, click the Print Preferences button located at the bottom right of the window. The Printer Options window will now be displayed:

Choose the Destination you would like to modify.
- Printer - allows you select the printer you would like to send it to.
- Preview - allows you to preview the report prior to printing, saving or exporting.
- File - allows you to modify:
- File Location
- File Name
- File Type