If you're using Estimating Link, you can import your project's directly into Billing Link and the project's information will be populated in the correct fields with your information from Estimating Link.
Manually Add Project
On the Billing Link homepage, select Project > New:

or you can click New Project:

The following window will appear. Enter your project's information and click Save:

Your new Project will now show in your Project List. To open the project, double click anywhere on the project's row.
Manually Add Items
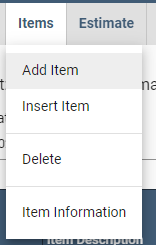
To manually add Items, open the project and select Items > Add Item:
A new window will be displayed. Enter your Item's information and click Save:

Add Another Item
You can add another Item by following the procedure above. This will add your new Item to the end of the Item list.
To add your Item above another Item, select the Item you would like to insert above, then select Item > Insert Item.