There are two parts to this process, the exporting of data from Estimating Link, and the loading of data into Microsoft Project.
Exporting from Estimating Link
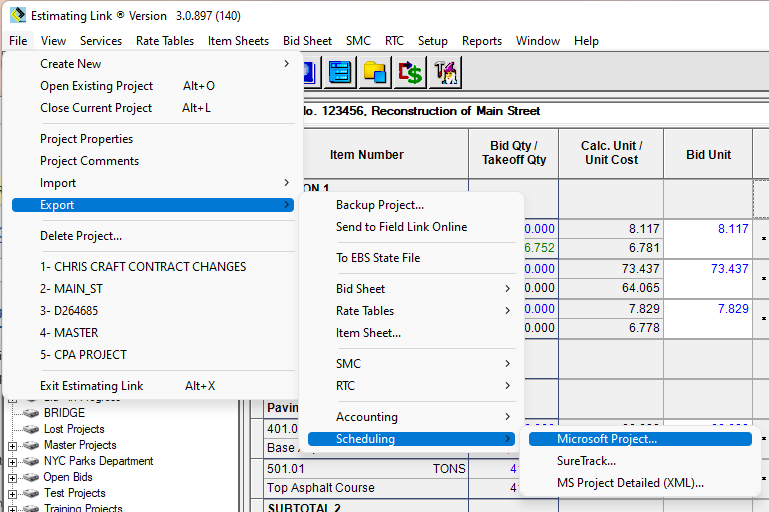
The first step is to export project data from Estimating Link, into a file that can be read by Microsoft Project.
- Open Estimating Link with the project you would like to transfer to MS Project.
- Go to File > Export > Scheduling > Microsoft Project. If you need the resources to be exported, use the MS Project Detailed (XML) selection.
- Select Location for File. You will be prompted to select a location to export the file to. This can be any location available to your computer.
The filename will already be set to the name of the project you are exporting, and the “Save as Type” will already be set as “Spreadsheet Files (*.csv)” unless you are using the detailed export where the type will be (*.xml).
Click the Save button to export the file. You should receive an informational window that will indicate the file was successfully exported.
Open the file in Microsoft Project
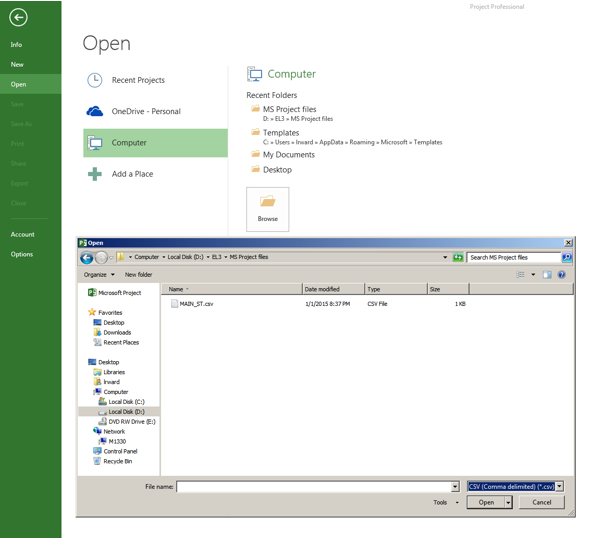
Once the file has been exported from Estimating Link, Open it in Microsoft Project. If you are presented with any startup wizards when you open MS Project, simply close or cancel them, as these instructions do not cover their usage.
- In Microsoft Project, select Open > Computer and Browse. Select the file you previous saved, exported from Estimating Link.
-
You will also need to change the “File of Type” box at the bottom to be “CSV (Comma Delimited) (*.csv)” or ( *.sml) depending the exported choice. Once those two boxes are set correctly, your project will appear in the list of files to open.
- Select Open.
- If your export type was *.sml, the project will open on the activity schedule with your resources listed. You can skip the next section and proceed to Finished.
-
-
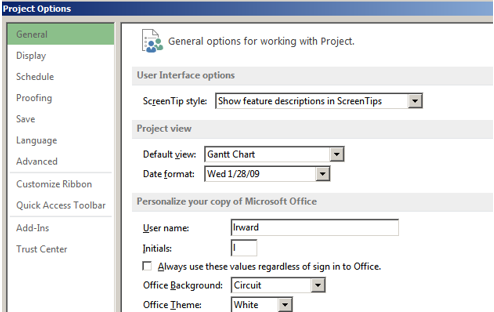
If using the .csv file you will have allow their program to use a legacy format. After opening MS Project program, click on Options.
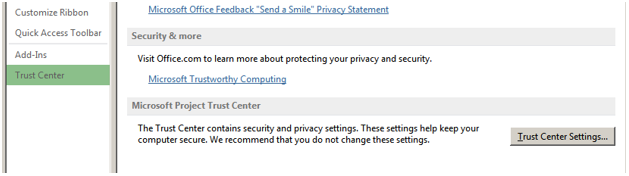
- Select Trust Center
- Select Trust Center Settings and Allow Legacy
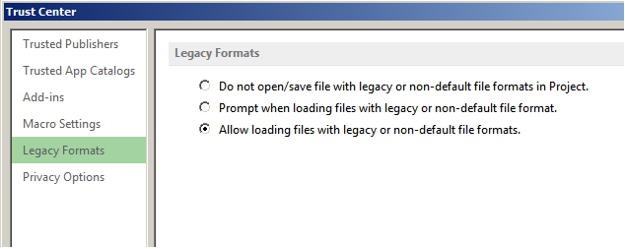
- Select Legacy Formats and Allow loading files with legacy formats.
- You will only have to do this once. Click OK and OK again.
- Select Trust Center
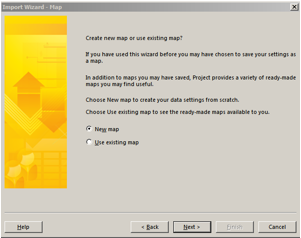
- Initially, you have to create a Map File, using their import Wizard. Click on File >Option > Computer and Browse:
- Select the folder and file that you saved the project name .csv file in and click Open.
- In the the Import Wizard Map, select New Map:

- Select a New Project and click Next.

- Uncheck the Import includes headers and change the Text delimiter to a comma. Click Next.
-
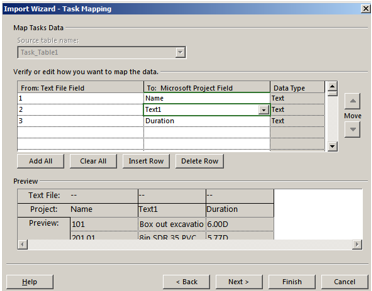
In the Import Wizard – Task Mapping window, enter in the “To Microsoft Project Field” for the first field “Name”, second “Text1, and the third “Duration”. The Preview is shown below. Due to differences in terminology, in Microsoft Project the Item Number will be referred to as the Name or Task Name, and the Description will be Text1.
- Click Next.
-
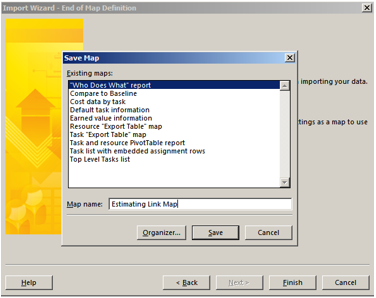
Click on Save Map and give it a name such as Estimating Link Map so that you will not have go through this process again.
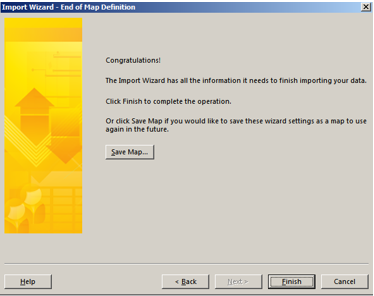
- Click Save and Finish.
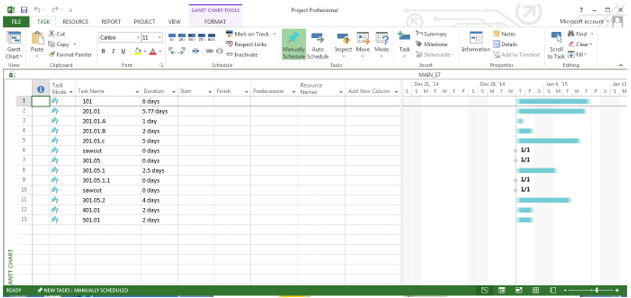
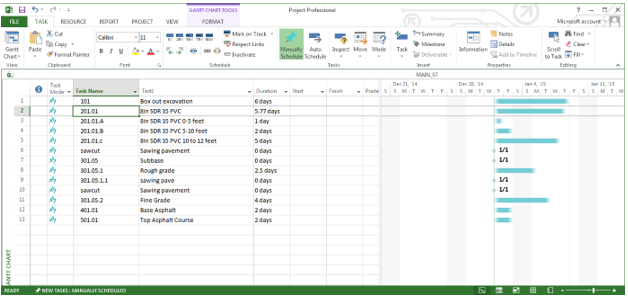
- A Gantt Chart is now created:
Finished - You have now completed the process of transferring data to Microsoft Project.
You should now see the base schedule as shown in the screen capture above. In the future, you will not need to go through the steps of creating the map file, since the one you just created will be automatically saved for future use.
Additional Information
Descriptions for Item Numbers
By default, the item description is not displayed when a file is initially loaded from an Estimating Link export. This can be changed in the MS Project Options. See you MS Project manual.
In order to display the item description, right-click the column heading Duration, and choose Insert Column. You will be prompted to select a column name.
For the “Field name” scroll down and choose “Text1”. After setting those options, click the Ok button to close that window, and the new column will now be displayed.
You can enter your Start, Finish Dates and Predecessors. See your MS Project manual for more instructions.